Build And Install Shed Doors That Look Great!
You can build your own shed doors or simply buy standard exterior doors and install them. If you want double doors, as we will be installing in our shed, then you will have to install the top and side jambs yourself. This will require some careful measuring to allow clearance and operation of both doors.
Shed Door Ideas:
Here are few examples of shed doors that you can build yourself with the right tools. One picture shows 2 standard steel entry doors used together. This may be the easiest type of door to install. Easier still if you buy and use a pre-hung entry door as the jambs and sill are already made and you can just install the unit in your framed opening.
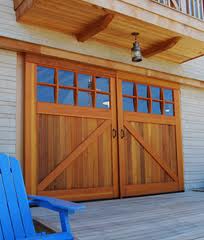 Barn style, rolling 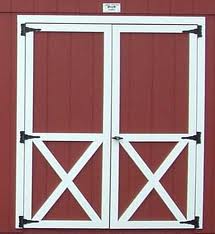 Hand built, double doors, exposed hinges. 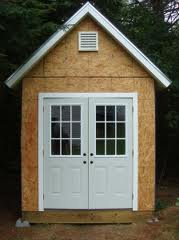 Insulated metal doors |
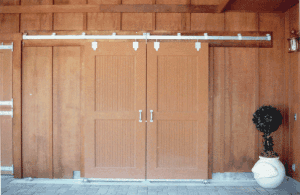 Barn style, rolling 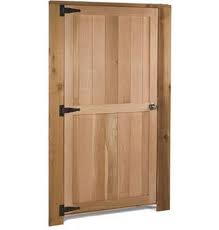 Hand built with exposed hinges 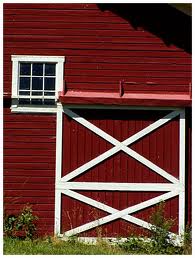 Barn style, rolling door |
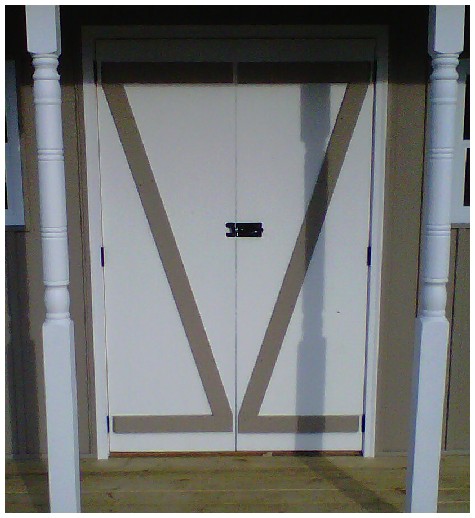
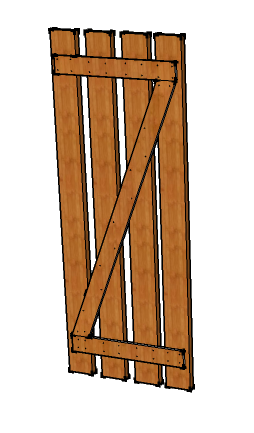
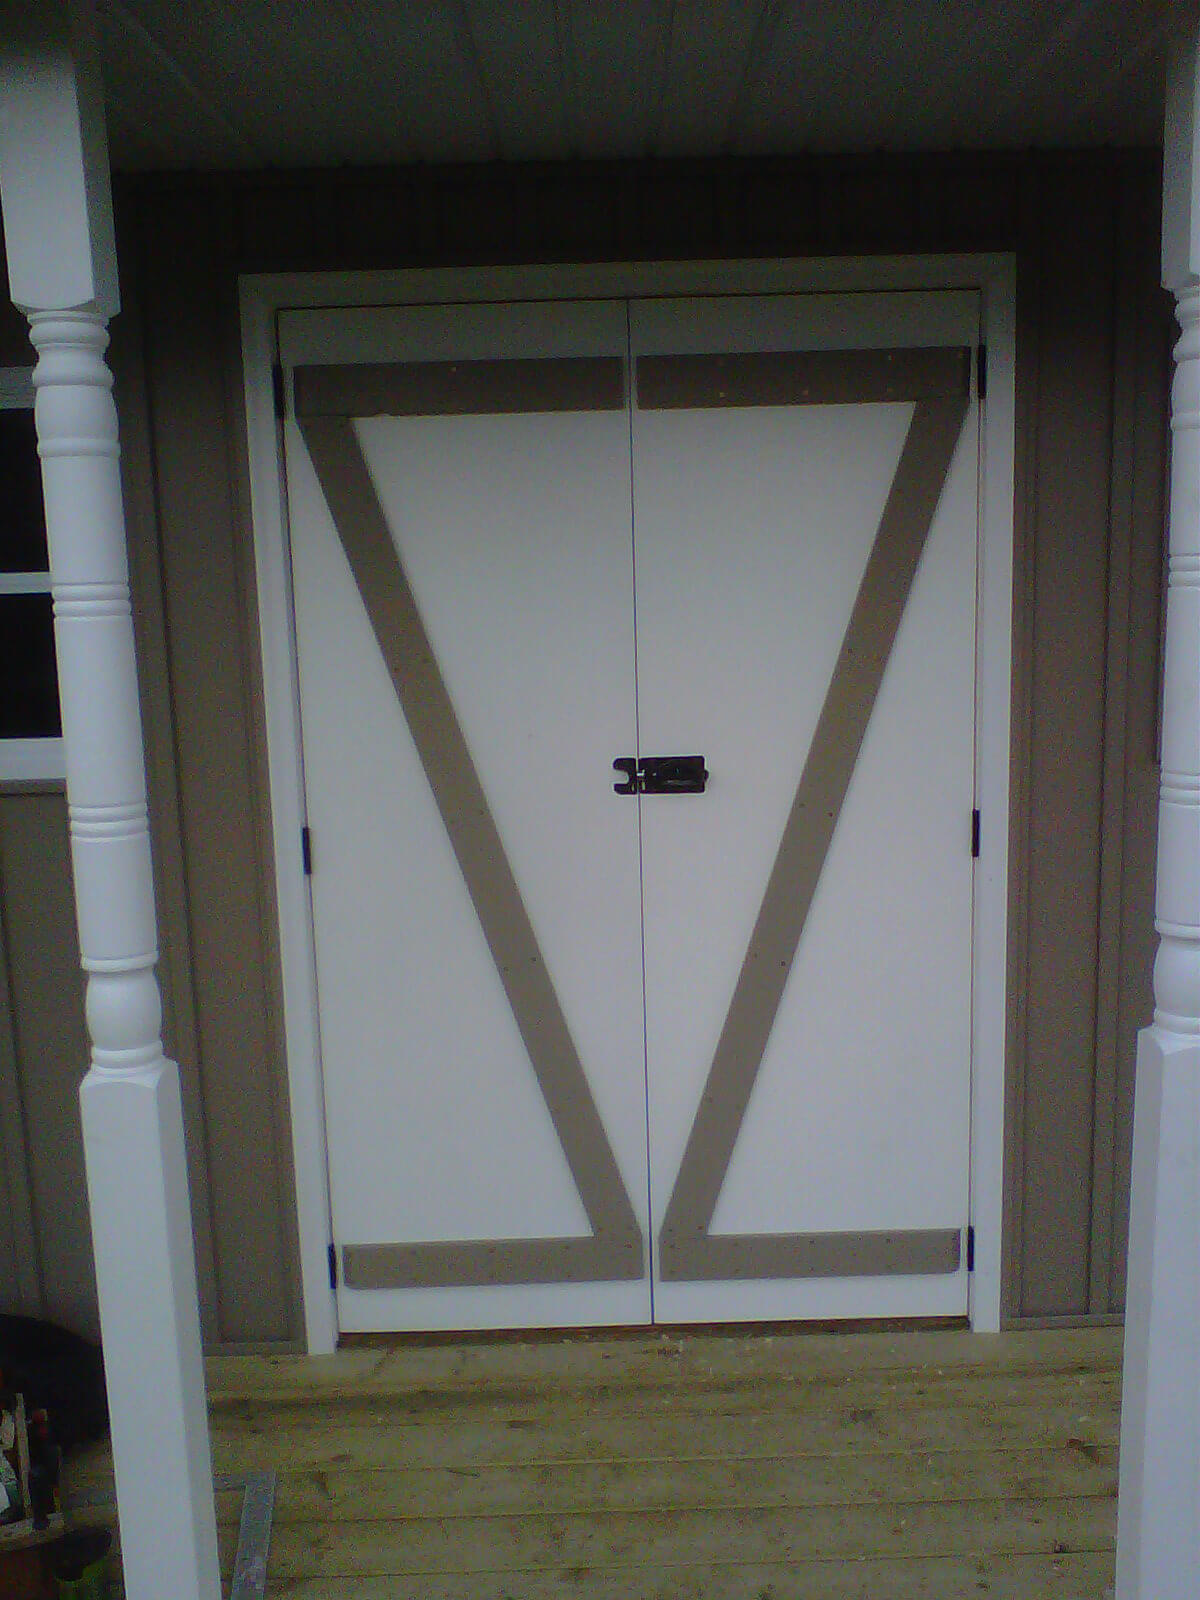
The sketch below exaggerates the spacing between the vertical door boards but is essentially the same as the doors we built for this shed. Though it isn't necessary for the vertical boards to be glued together when you are installing the 'Z' shaped cleats, I wanted the doors to be solid wood with the cleats as decoration only. I actually joined the vertical boards together with glue and clamps.
These doors were constructed with 1 3/8" thick x 6" wide x 80" long pine boards. I purchased the lumber from Home Depot because the wood there is stored indoors and has already had a chance to dry and do the natural bending that wood will tend to do. I sorted through the pile and selected the straightest boards.
<B>TIP:</B> Use lumber that has has been kiln dried or at least been stored indoors (heated space) and is dry. Wet (newly milled) lumber, even if it looks straight, may bend considerably when it dries out. It will also shrink and leave gaps as it dries, especially pressure treated lumber.
I have seen newly purchased deck boards warp in crazy shapes after just a few hours in the sun, so I learned to screw them to the deck frame immediately after getting them to the job.
You don't want your shed doors to warp out of shape after going to the trouble of building them.
Also, pine and hemlock are more desirable woods to use as they will tend not to warp and twist as much as spruce as they dry.
I first put each board through a jointer to square the edge and then applied glue and clamped the pieces together. As the glue was drying, I fashioned the 4x3/4 inch pine boards that would be used for the decorative "Z" on the front of each shed door.
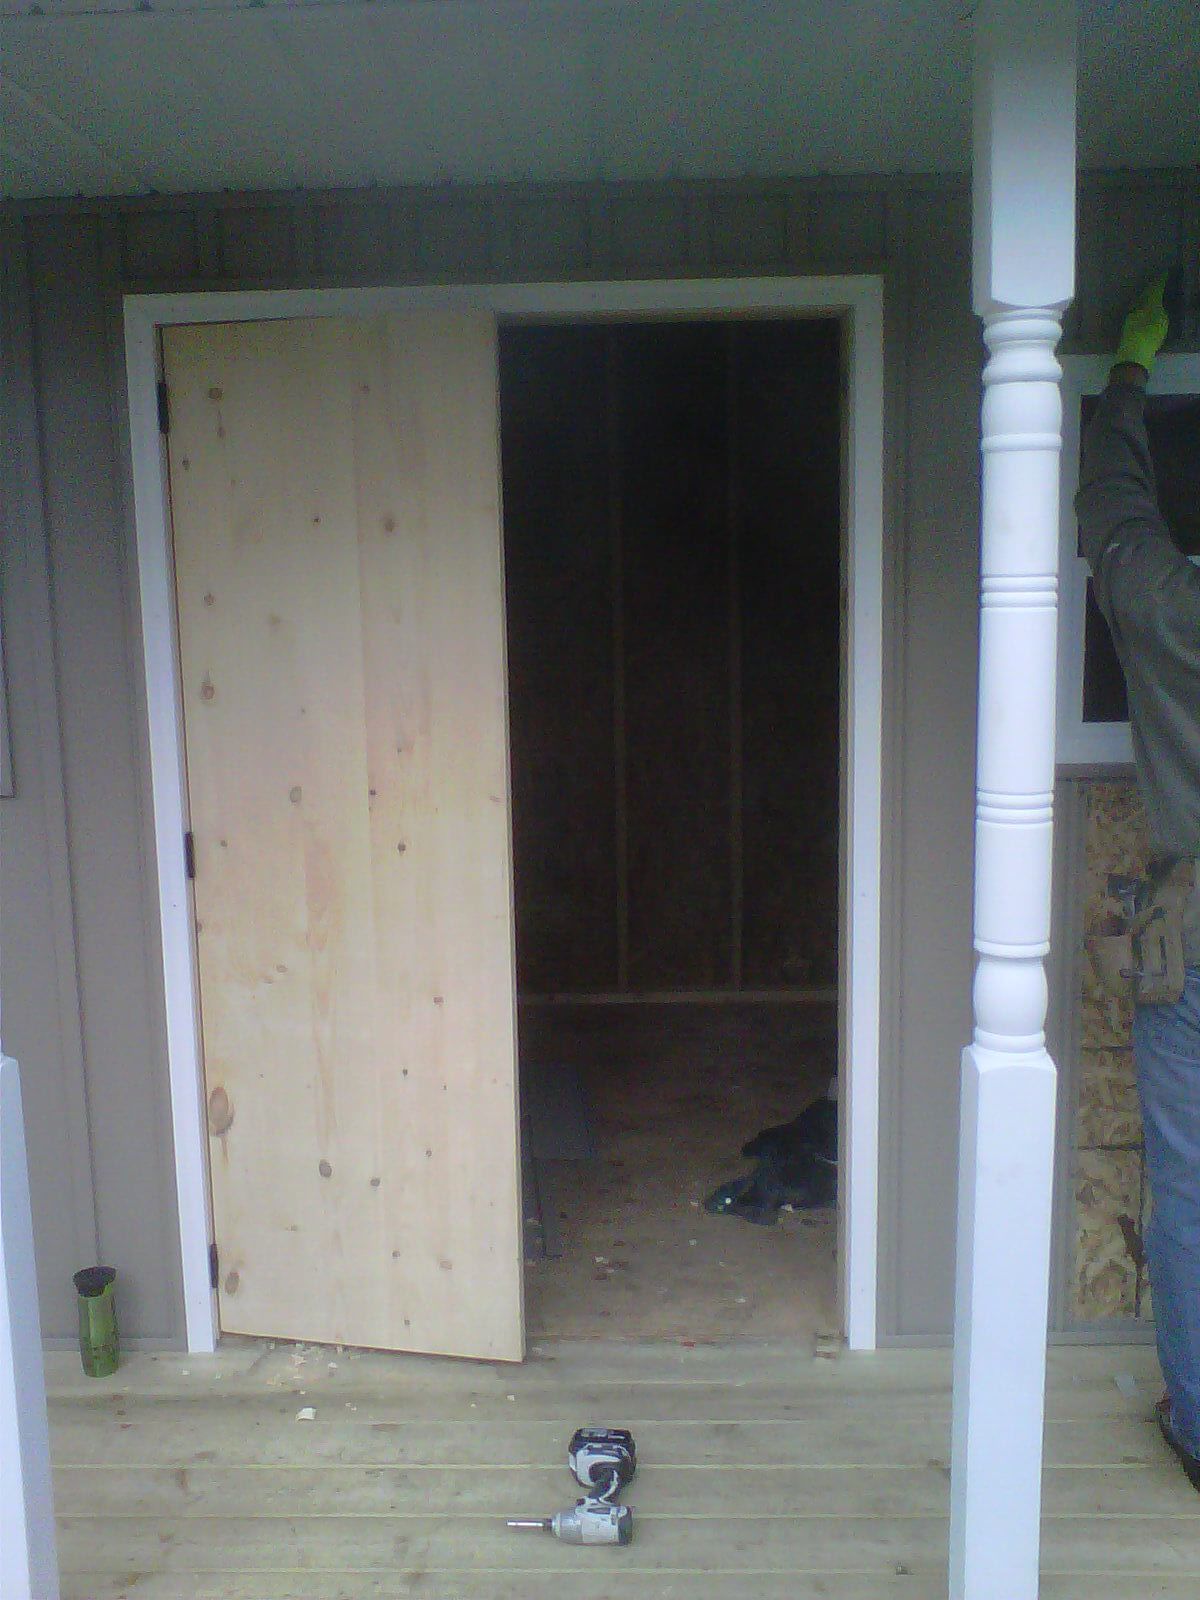
When dry and unclamped, I had to sand out the surfaces with a belt sander and then square up the sides by cutting the door to about 1/4" oversize in width. The tops and bottoms were also cut to be 90 degrees to the side and about 1/2 inch shorter than the total height of the finished opening.
I installed the pine jambs, top and both sides, to leave exactly a 48 inch wide by 79 inch high finished opening. The doors would then cut to be 23 7/8 inches wide and 78 5/8 inches high. I then hung the doors using 3 inch outdoor gate hinges.
Shed Building Steps
Click the image to go to the page you want.